
Scan Process
Based on the entered information, you proceed with scanning.
1. Enter/save treatment information and select the necessary scan options.
2. Click the "Scan" button in the upper-right corner of the window.
CAD Process ( exocad )
Medit Link provides the DentalCAD integration app to connect Medit Link with DentalCAD.
Install
1. Install the DentalCAD Integration app in the App Box.
2. Go to the case details and click on the DentalCAD Integration app icon on Quick Launcher.
3. Specify the path to the DentalCAD app installed on your PC in the pop-up dialog.
Run
1. Enter the case details of the scanned case and click the DentalCAD Integration app icon, which will pop up a dialog to create a dentalProject file.
(1) You can add a new client and manage existing clients by Material Configuration.
- A client is automatically added by accepting the client's order through Work Box.
- If a new order comes in from the same client, the system automatically loads Material Configuration saved for the client. Therefore, you can easily create [.dentalProject] file without repeating the same configuration process.
(2) For material configuration, it suggests the same list as in exocad dentalDB.
(3) You can select tooth and scan mode.
- Depending on the material configuration, options may vary.
- For an ordered case, treatment information is automatically configured referring to the form information.
- Adjacent teeth and antagonists are automatically configured according to the treatment tooth number.
(4) It shows the list of treatment type that is same with the dentalDB 2019.
- The treatment type can be selected after choosing a tooth.
- After selecting the treatment type for a tooth, the detailed parameter can be configured.
- Only after at least one parameter is configured, you can save [.dentalProject] file, scan, or start the CAD work.
(5) After configuring the treatment type by tooth, you're not allowed to change material configuration and client. If you need to change those, click Cancel.
(6) After configuring the treatment type by tooth, you can configure the detailed parameter. The parameters that were changed from the default value are highlighted in blue.
2. Register form information for DentalCAD and click "Open" to open the CAD program.
If you install the DentalDB Integration app, the CAD results will be automatically delivered to the specified save path in exocad. (Lab accounts only)
Utilize Add-in Apps
Enter on the Form Tab
You can directly run various add-in apps by clicking on the installed app icons in the Quick Launcher. You can change the order of app icons by dragging them.

App Launcher Management
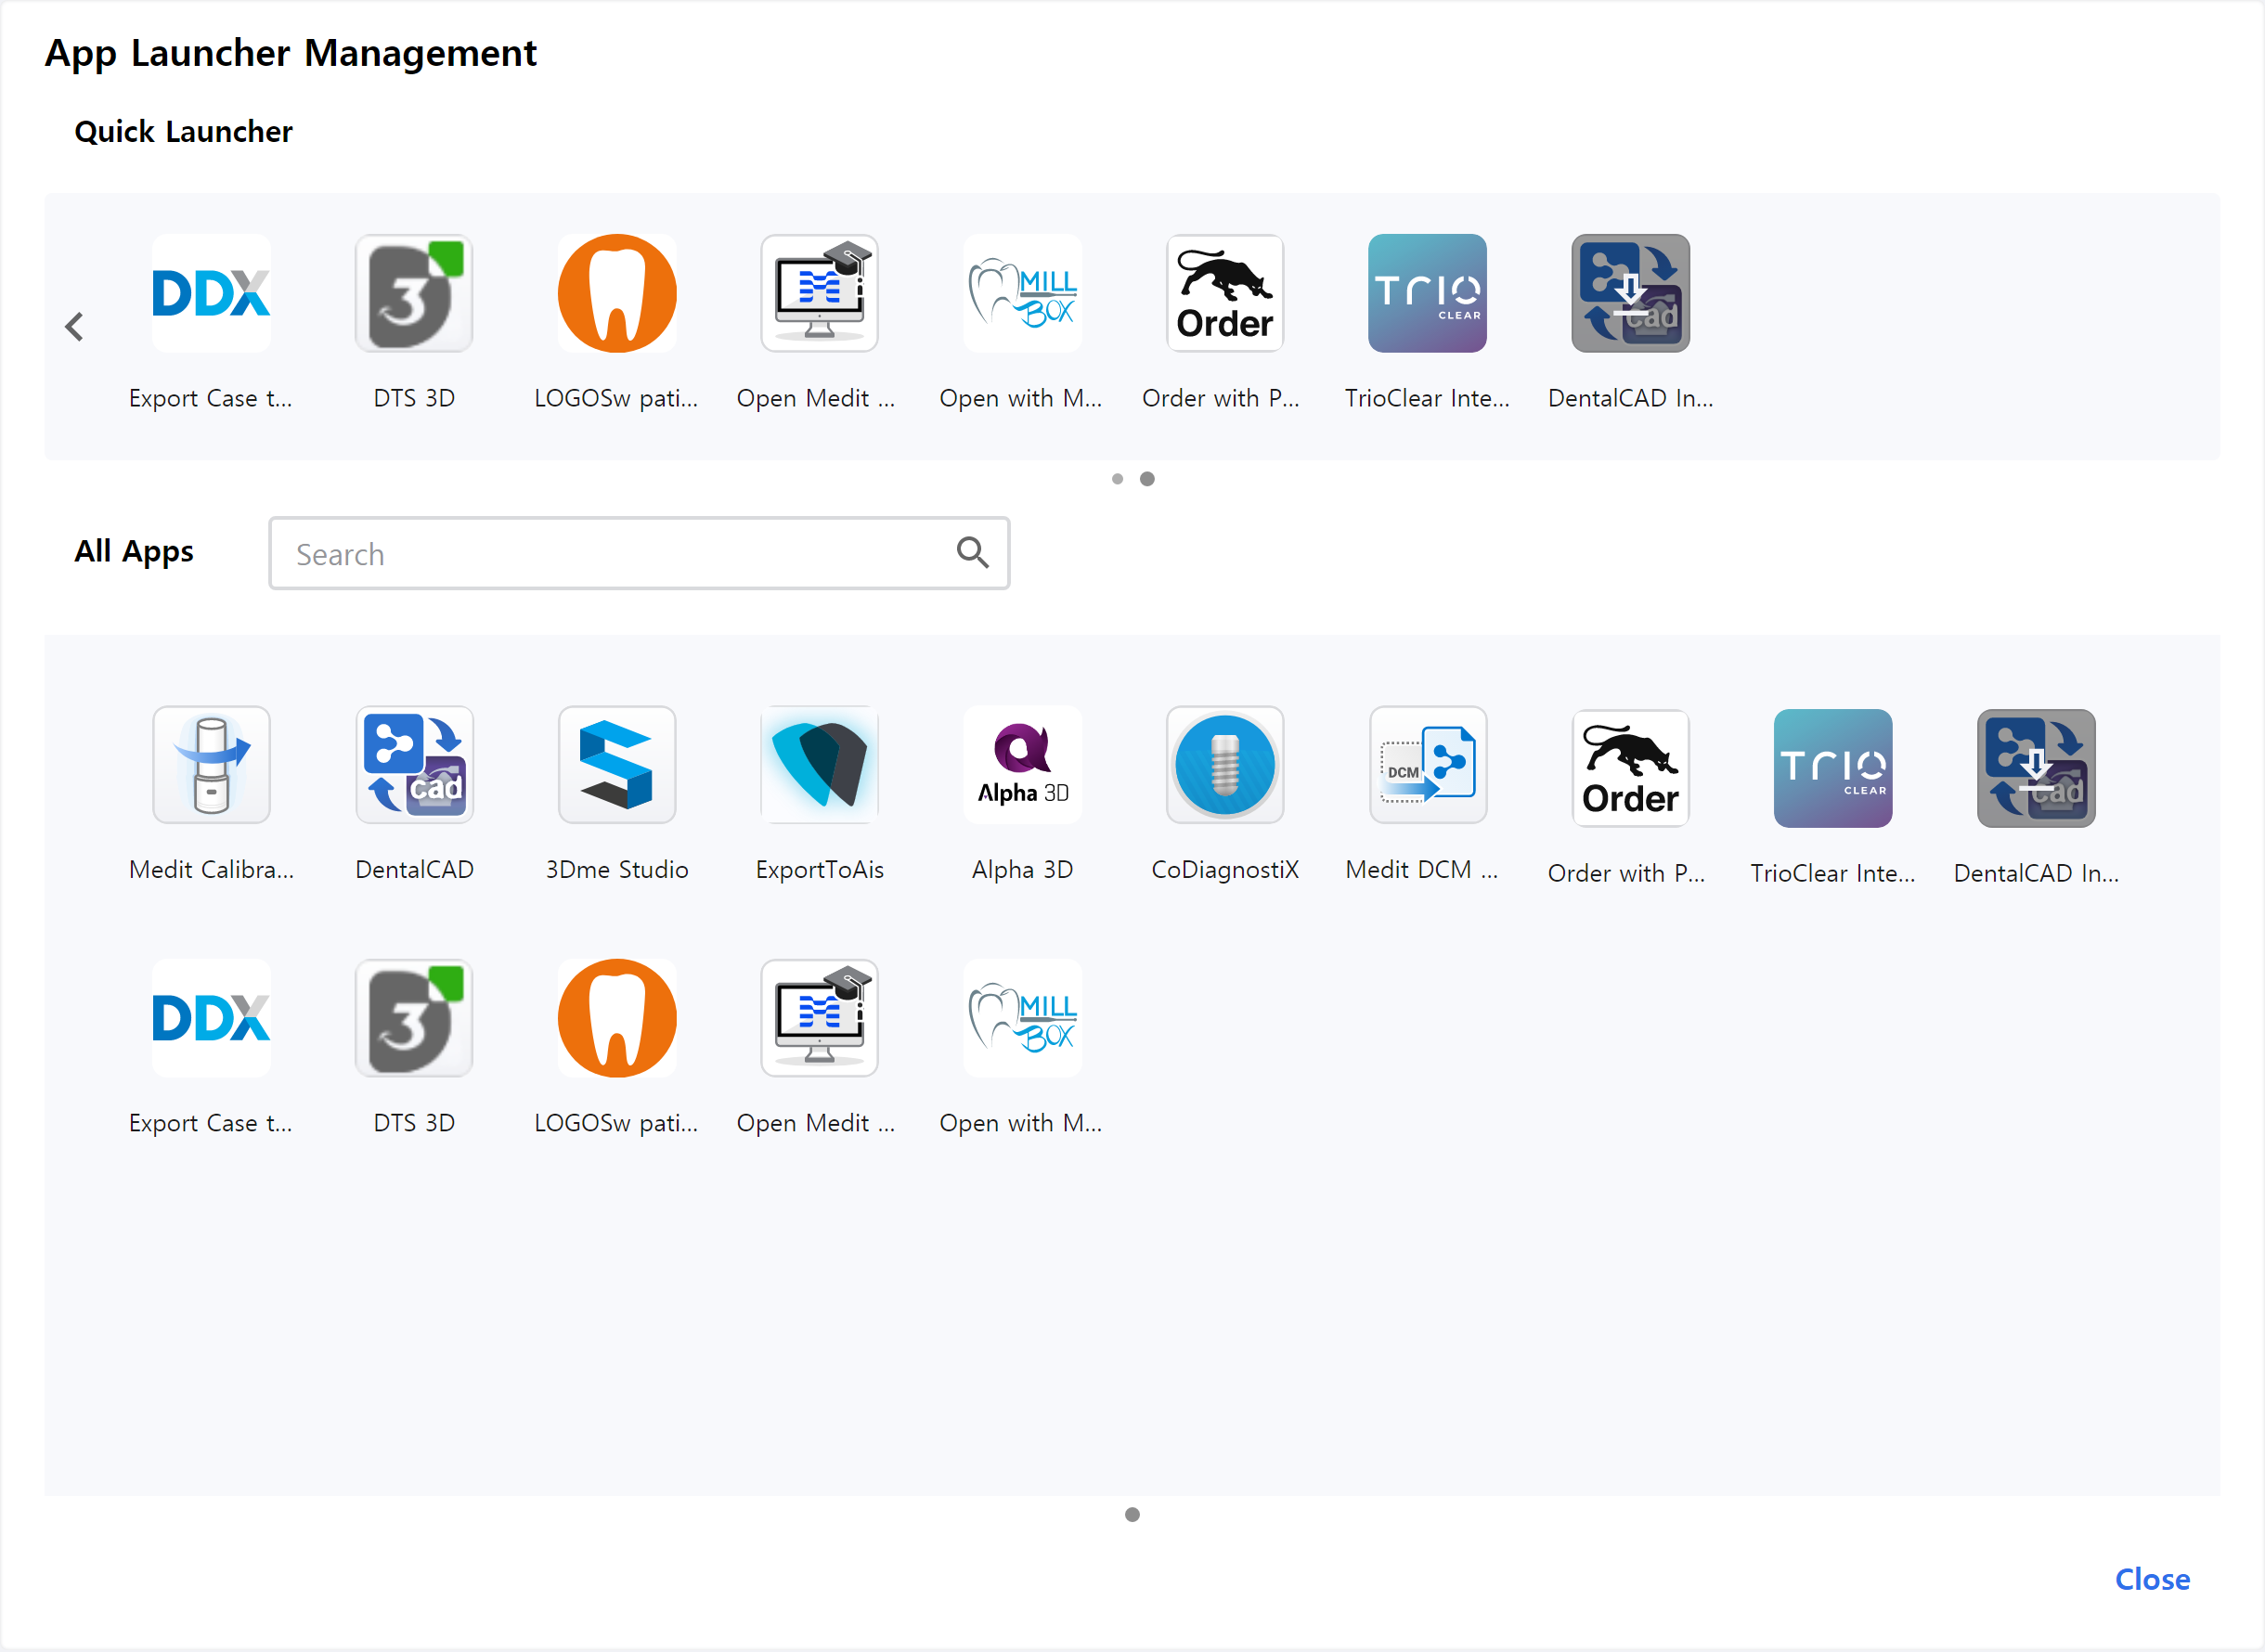
Quick Launcher
You can define which apps appear in the Quick Launcher. You can change the order of app icons by dragging them, or you can create folders to group similar apps together to organize them.
All Apps
All apps you have installed are shown. You can right-click on an app icon to add the app to the Quick Launcher. From the right-click the context menu, you can also select to run, install, or uninstall the app.
Comments
0 comments
Please sign in to leave a comment.